zondag 20 december 2015

HaXe / Stencyl : Writing files for desktop


== writing files (localfilesystem = CPP type = Windows/Mac ==


var f=File.write("here_io.txt", false);

for( ti in 0 ... 3){
   var counter=1;
   for(tik in 0 ... getGameAttribute("MaxSceneTiles") ){
   for(tin in 0 ... getGameAttribute("MaxSceneTiles") ){
   // write T[ti][Std.int(tik*getGameAttribute("MaxSceneTiles"))+tin]=255;
   var t=T[ti][Std.int(tik*getGameAttribute("MaxSceneTiles"))+tin];
   if(t<255){
   f.writeString(getGameAttribute("scenenr")+"."+ti+"."+counter+".x="+tin+"\n");
   f.writeString(getGameAttribute("scenenr")+"."+ti+"."+counter+".y="+tik+"\n");
   f.writeString(getGameAttribute("scenenr")+"."+ti+"."+counter+".t="+tin+"\n");
   counter++;
   }
   }
   }
   f.writeString(getGameAttribute("scenenr")+"."+ti+".nrofitems="+counter+"\n");
} // for all layers


f.close();


Stencyl / HaXe : Changing Animation of Actor dynamically


== Animating an Actor ==


To make different animated characters we can create a standard actor.
For instance an enemy character.
Give it the "visible" and "invisible" animations.

The visible will have at least 8 frames in it so that we can alter the animation and still have the animation effect working without having to change too much!


The loaded PNG file (it must be PNG!) should have all the frames next to eachother:
1-2-3-4 …
The number of frames will divide the width of the PNG so to create different frames during game-play.


[+ add animation]
Name: visible
Add Frame : invisible.png
<Copy Frame> and repeat <Paste Frame> for all the frames you need!


=======================
[+ Advanced => Import]
import nme.display.BitmapData; // bitmapData
import com.stencyl.Data; // casting to the tileset
import com.stencyl.models.scene.Tileset; // we remove it
// Rest is probably not needed as they are for URL requests:
import nme.display.Loader;
import nme.net.URLRequest;

[+ Advanced -> Code Block]


var loader:Loader;
var bitmapData:BitmapData;
var abitmapData:BitmapData;

// This is the function that will be called when loading the file
public function onCompleteAnimation(event:Event){


var iti:Array<Int>=new Array<Int>();


var aa:Animation;
for(a in _theActor.sprite.animations){
aa=a;
}
aa.looping=true;

var frames=8;

var theloader=event.currentTarget.loader;
var bit:Bitmap=cast(theloader.content,Bitmap);
bitmapData=bit.bitmapData;

var aloader:Loader = event.currentTarget.loader;
var content:Bitmap = cast(aloader.content, Bitmap);
var source:BitmapData = content.bitmapData;
// for each frame => speed
for( ab in 0 ... frames ) iti.push(100);
var ba:BitmapAnimation=new BitmapAnimation(source,frames,iti,true,null);

_theActor.addAnimation("visible",ba);
_theActor.originMap.set("visible", new B2Vec2(source.width/frames,source.height));
_theActor.setAnimation("visible");

}


In the load state (clicking on scene for instance) we will load the graphics:
[ for each [actor of type] ]  (this makes index0)
[ Code Block ]
 _theActor = actorOfType;

 loader=new Loader();
 loader.load(new URLRequest("https://dl.dropboxusercontent.com/u/..."));
 _theActor.setX(32*index0);
 loader.contentLoaderInfo.addEventListener(Event.COMPLETE,onCompleteAnimation);

HaXe / Stencyl : Changing framerates

To show the framerate down (when using static images for instance) : ideal for chess/board games:


nme.Lib.current.stage.frameRate=10;

When you have the openfl branch:

openfl.Lib.current.stage.frameRate=10;


Stencyl / HaXe : Loading files from drive

--- Loading Image from FileSystem (Flash) ! --
- Scene -

Click (Add Event -> Input -> Click)  - When Mouse is released
Code Block: ( Palette -> Flow -> Advanced : Code Block)
Code: [Select]
#if flash
var fileref:flash.net.FileReference = new FileReference();
fileref.addEventListener(Event.SELECT, Select, false, 0, true);
fileref.addEventListener(Event.COMPLETE, completeHandler);
fileref.browse();
#end

Import Statements: (Add Event -> Advanced -> Custom Import)
Code: [Select]
import flash.net.FileReference;
import flash.events.*;
import flash.display.*;

Arbitrary Code Block (Add Event->Advanced-> Custom Code)
Code: [Select]
private var fileref:FileReference;
private function Select(e:Event) {
fileref = cast(e.target, FileReference);
trace("Selected"+fileref.name);
fileref.load();
}
private function completeHandler(event:Event) {
var loader:Loader = new Loader();
    loader.loadBytes(fileref.data);
    trace("Loader: "+loader);
    com.stencyl.Engine.engine.root.addChild(loader);       
}

Select PNG file from your drive.


Stencyl : GUI Extensions (Obsolete as of Stencyl > 3.2)

Dit overzicht is niet beschikbaar. Klik hier om de post te bekijken.

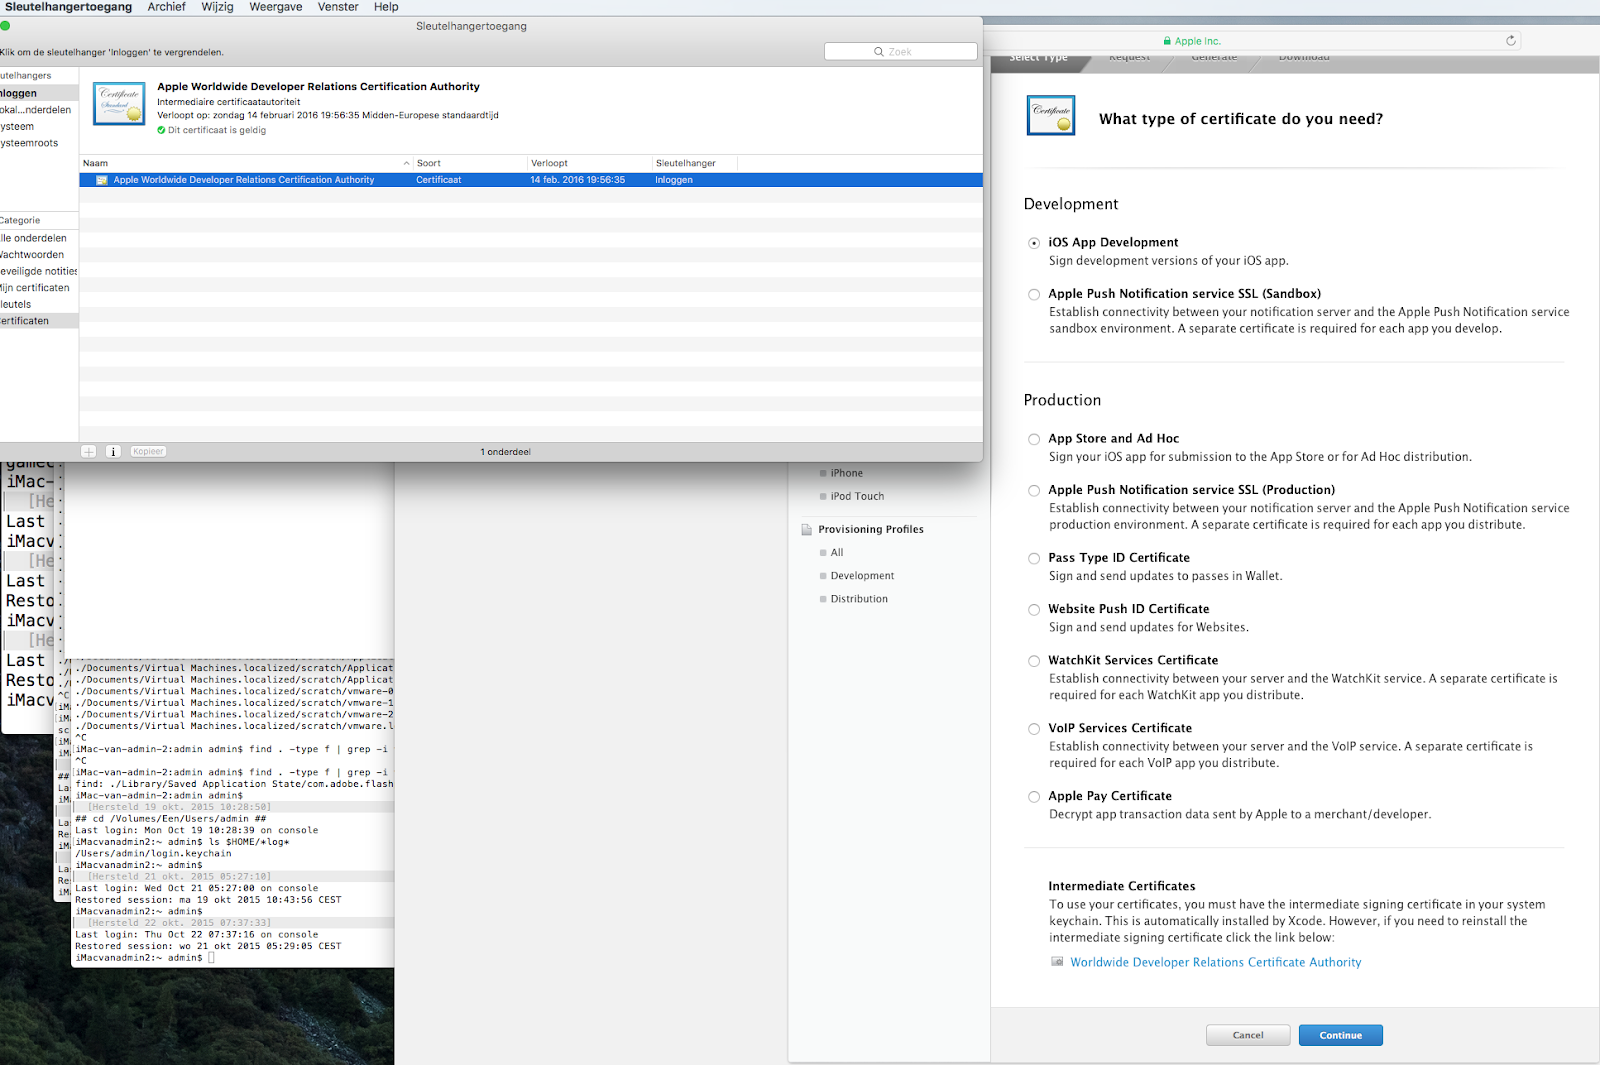
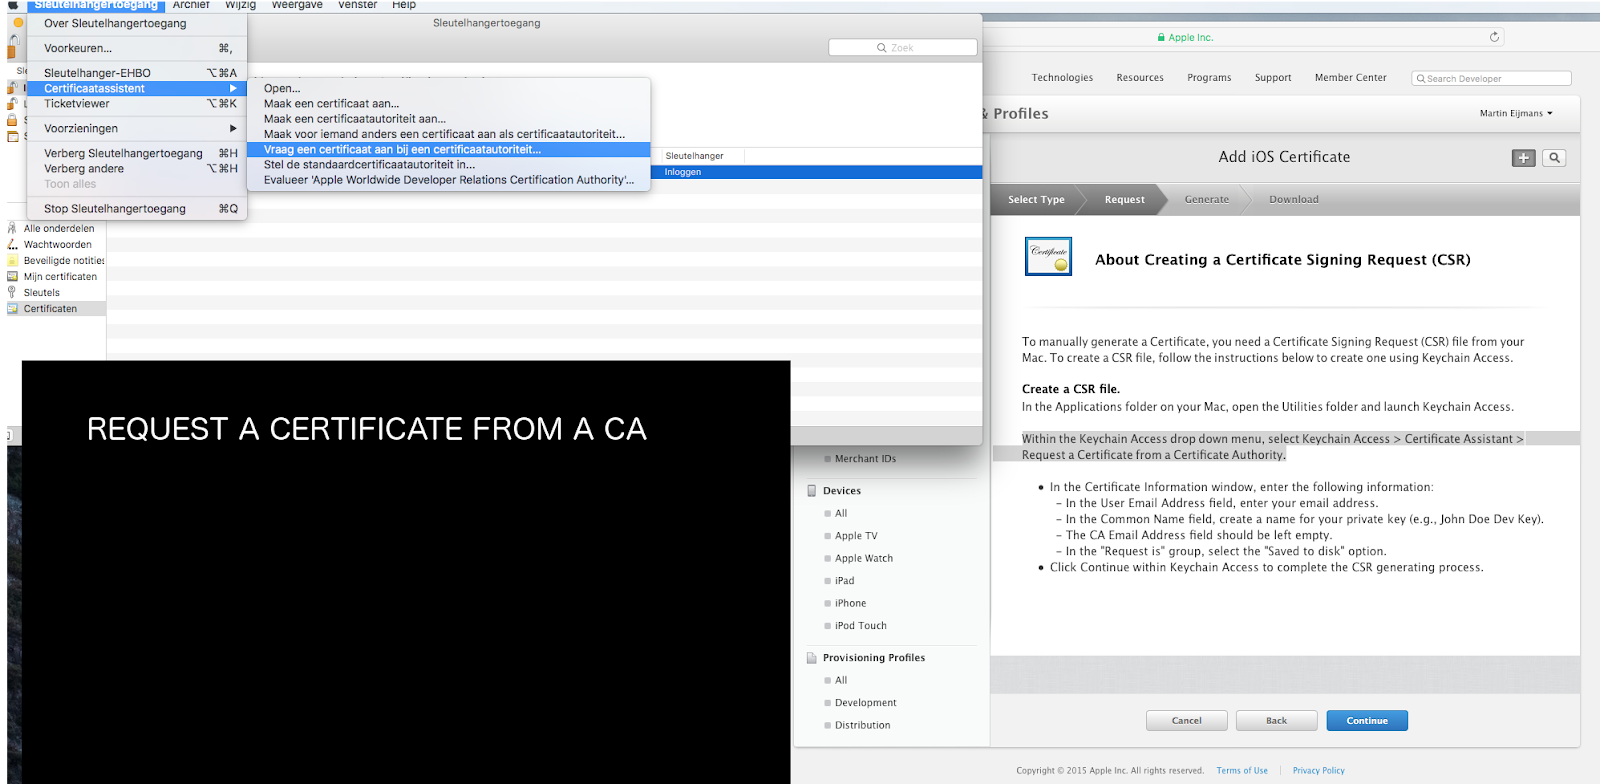
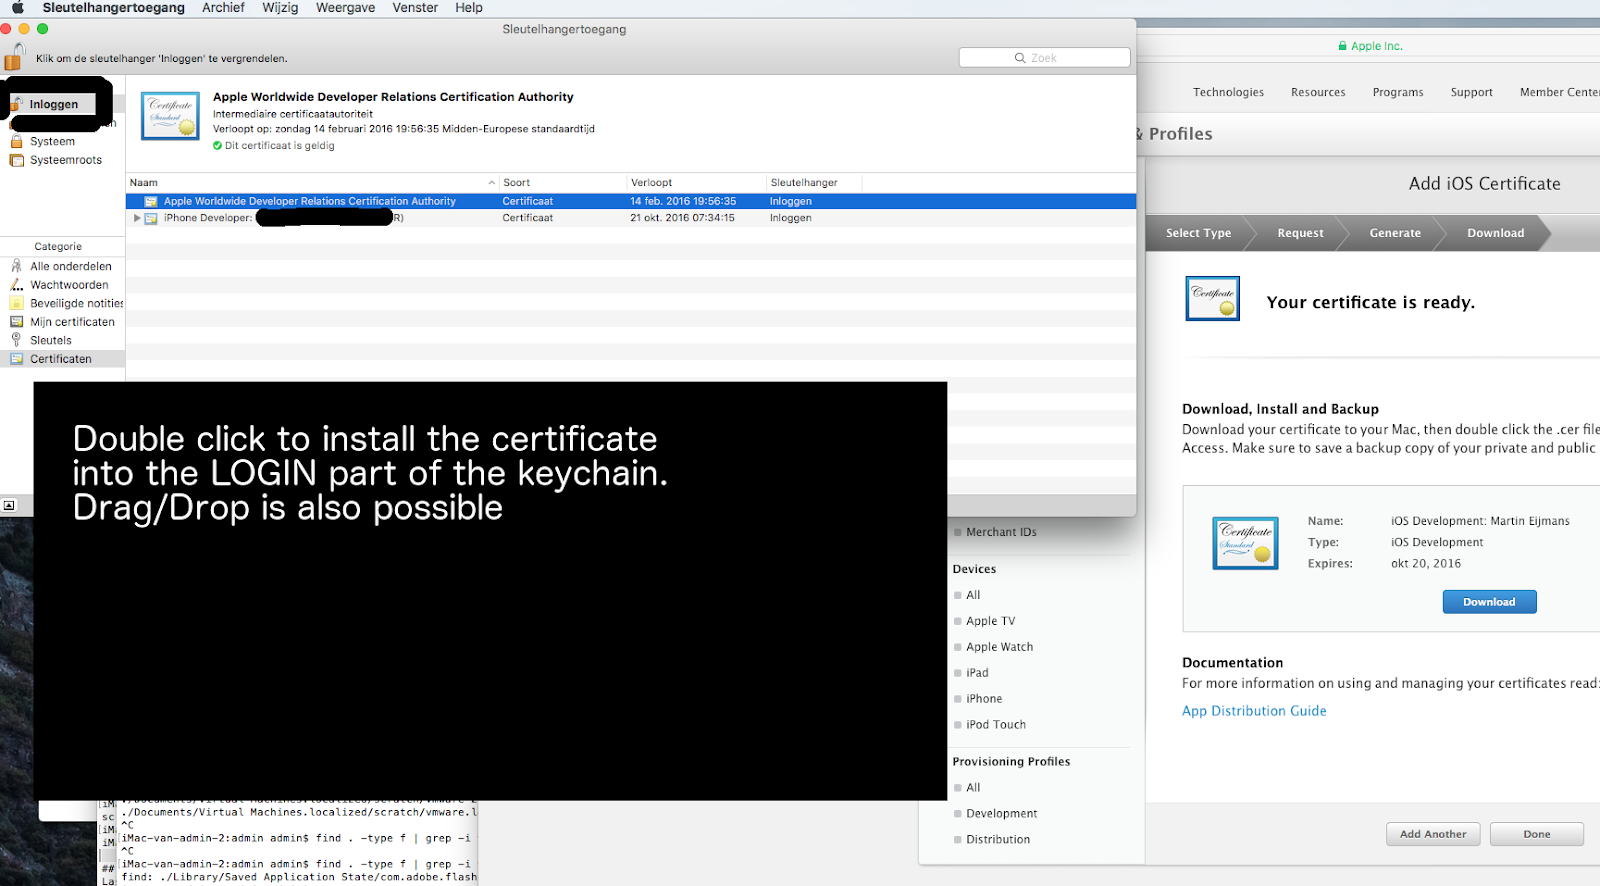
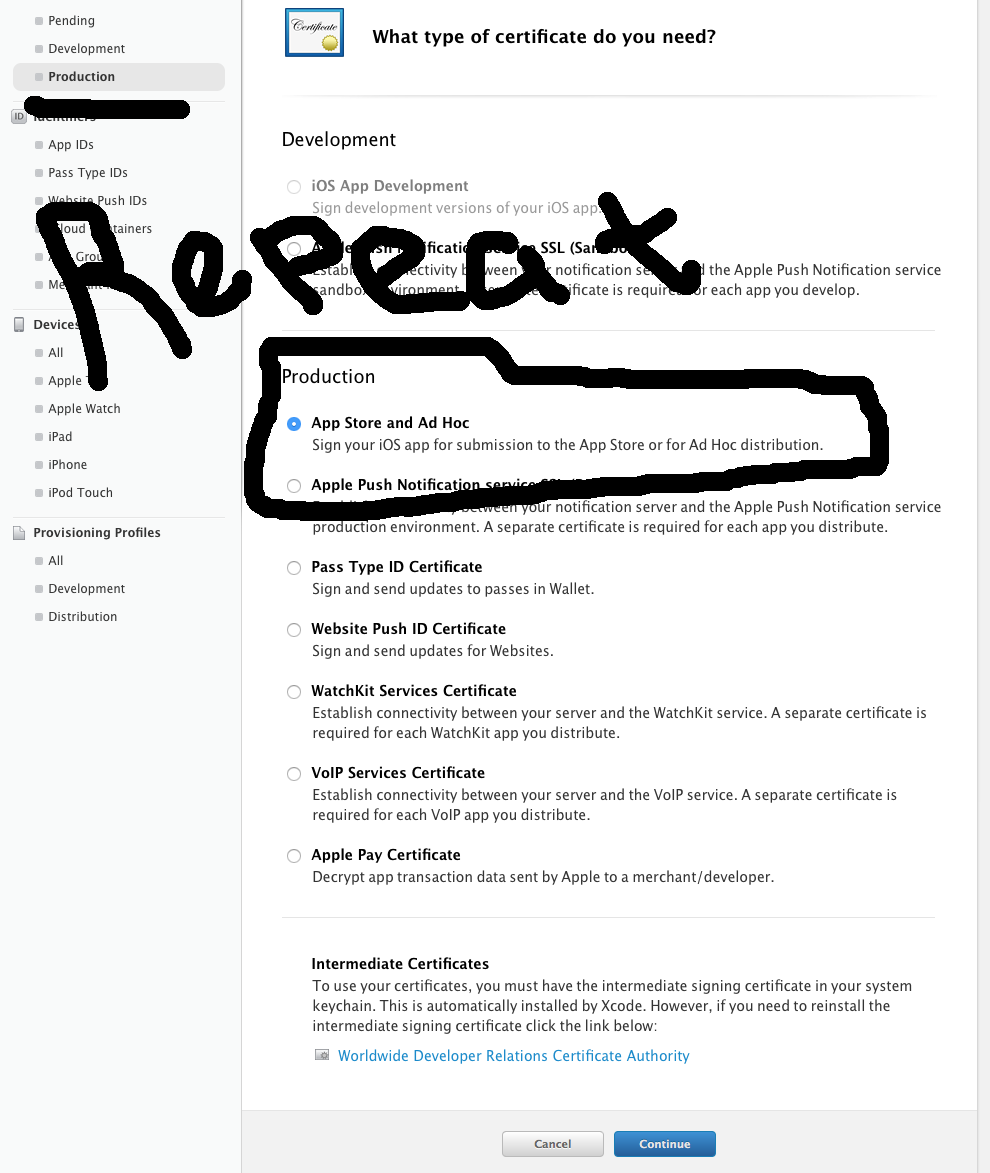
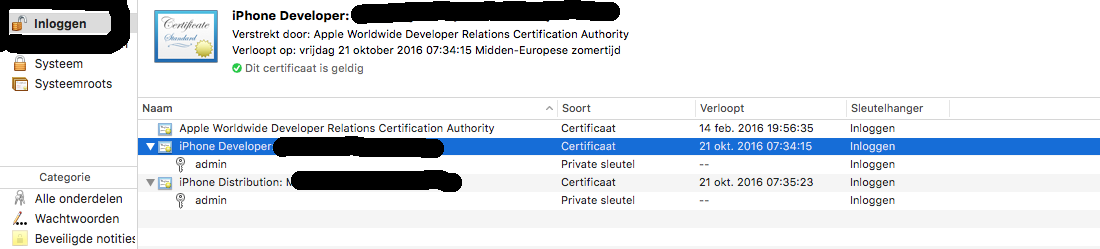
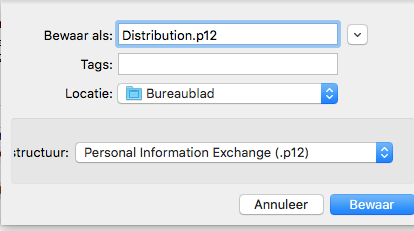
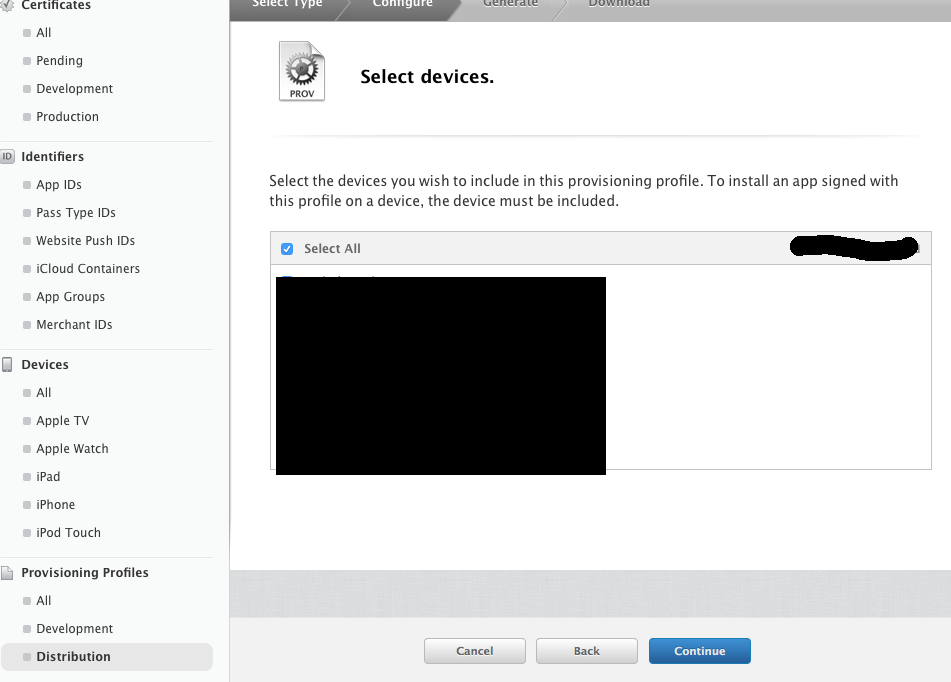
Stencyl / Apple Development Center : Create ios certificates for use in Stencyl


XCode 7.x , El Capitan instructions.

In Stencyl 3.4 you should really use the Run -> IOS device option.

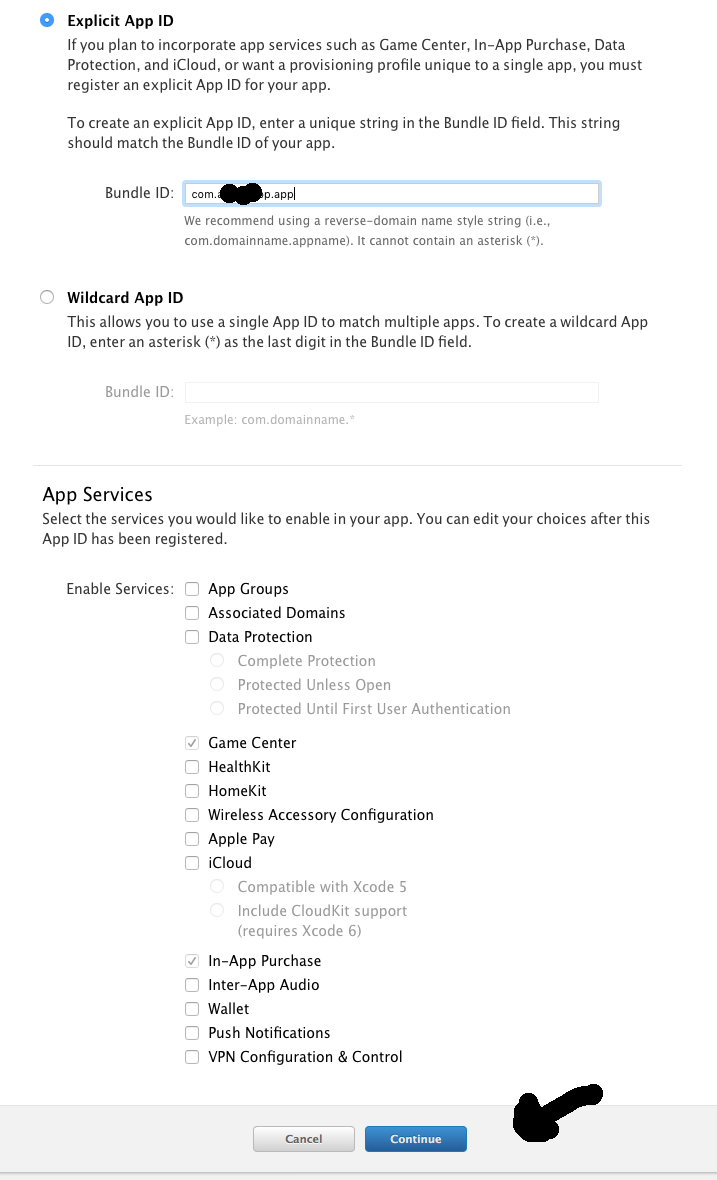
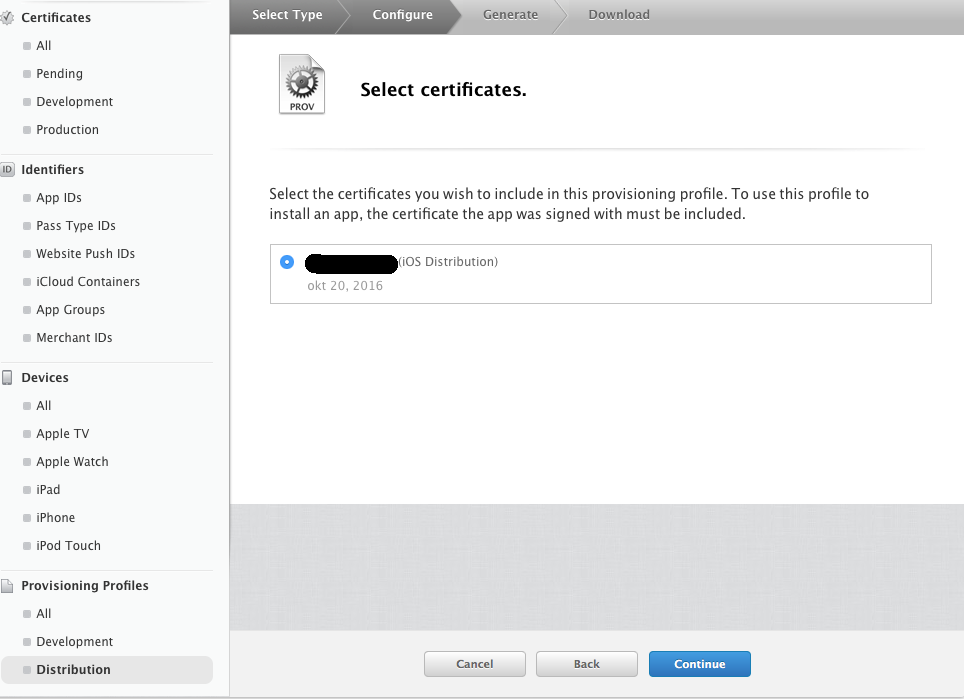
When certification is needed you can follow along. 
In Stencyl 3.4 this process will give you problems with the adhoc file and there is a workaround in using XCode to make the ad-hoc file using the Xcode Project that Stencyl makes.

Apple Development Center steps: